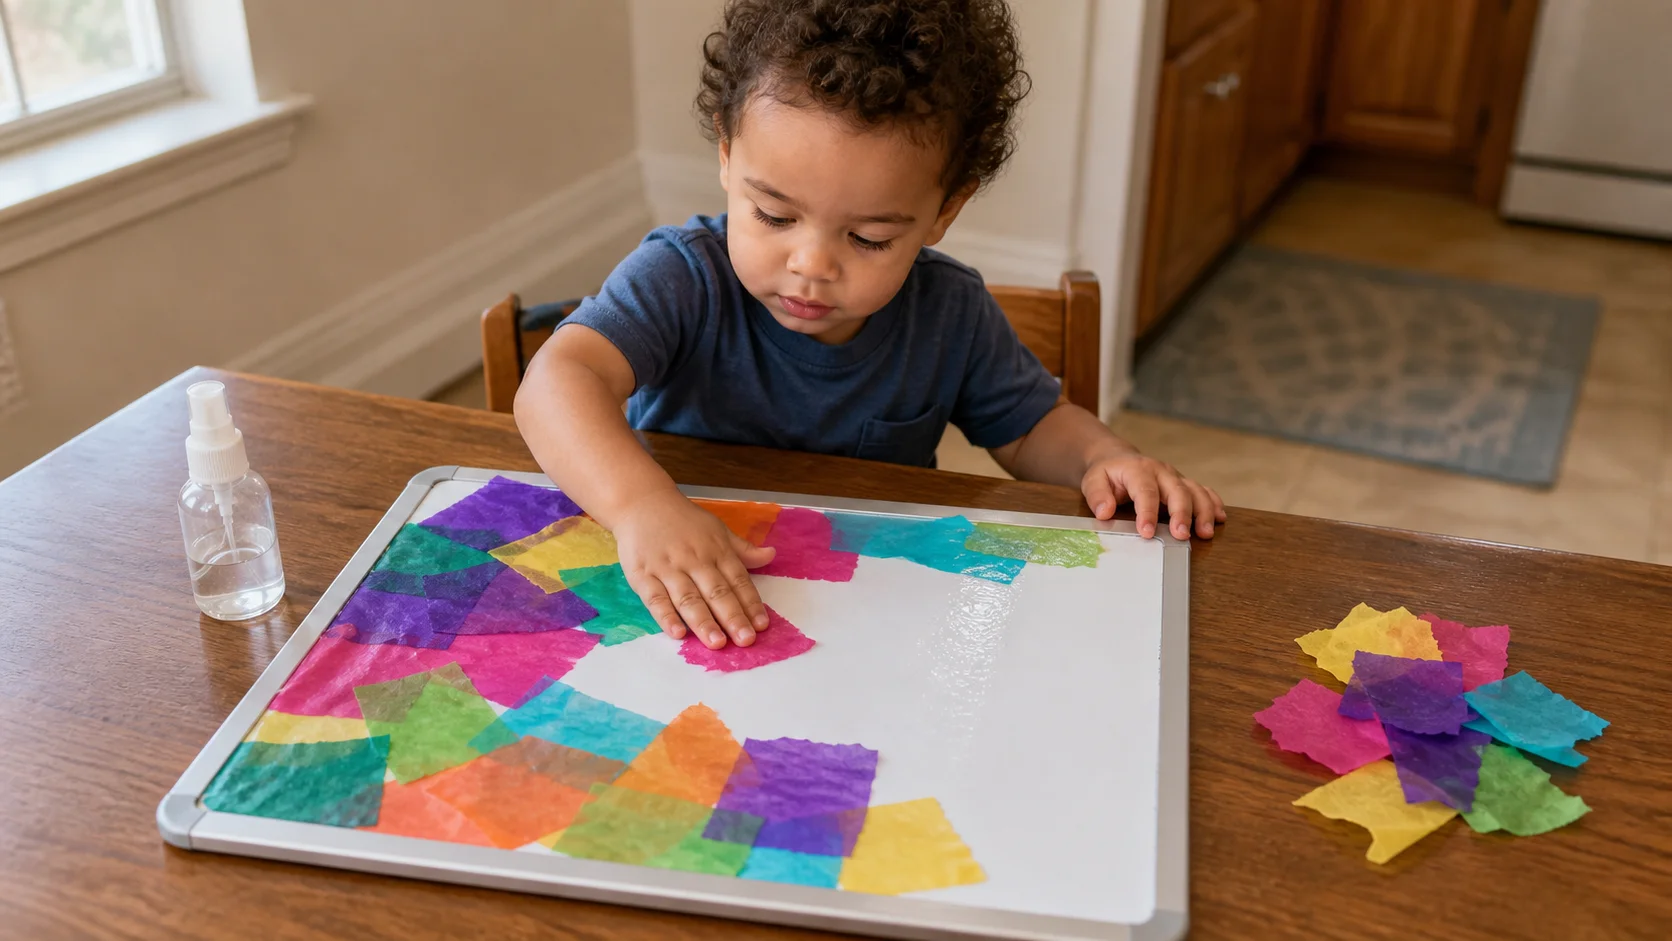
A toddler presses a bright tissue piece onto a wet spot on a dry erase board while a spray bottle sits nearby.
Fine motorPlace With ControlIndoor Seated Workspace

Wet Tissue Mosaic.

Spray a shiny spot, press on a tissue bit, and watch a simple mosaic fill in one color at a time.

Play time
5-10+ min
Age
1-3 years
Energy
Low
Mess
Low
Effort
Low
Where
Indoor Seated Workspace
Start here

The recipe.

Low parent effort
4 things

What you need

  • 1 dry erase board
  • 1 squirt bottle with a little water
  • tissue paper
  • 1 adult for direct supervision
5 min minimum

Setup

Then start the loop
Step 01
Place the dry erase board flat on a low table or the floor where your child can reach the middle easily.
Step 02
Set the squirt bottle beside the board where your child can grab it without crossing over the wet surface.
Step 03
Tear a small starter pile of tissue bits and leave more tissue nearby if your child wants to tear more during play.
"Spray here."
The loop

How play unfolds.

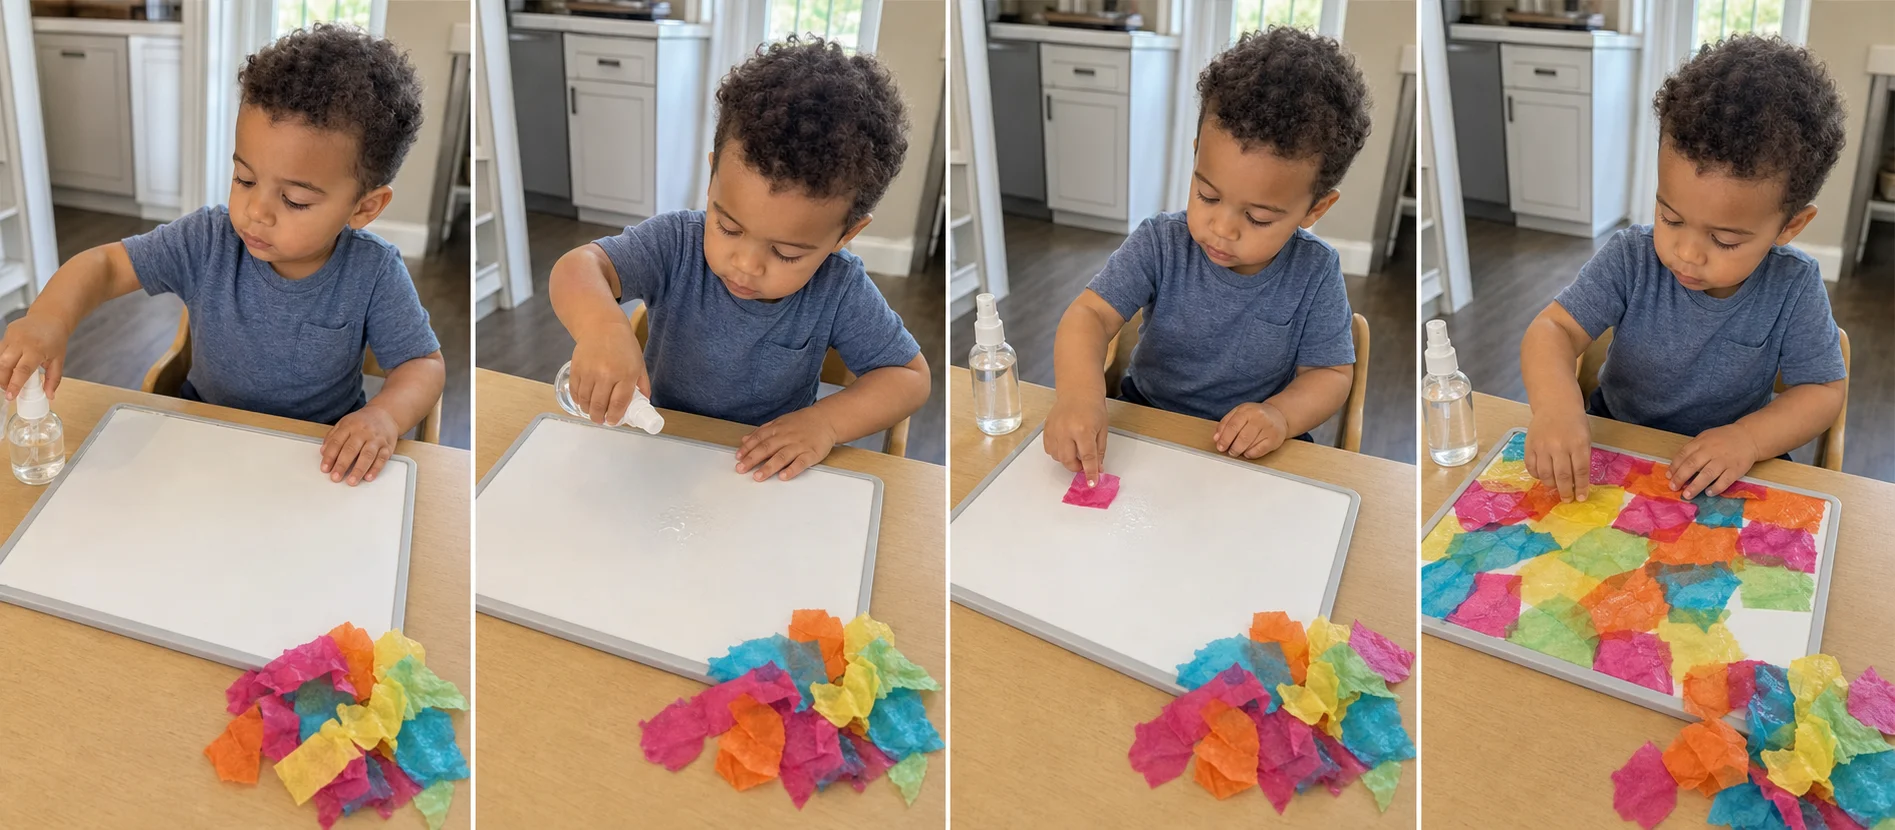
Three panels show a child spraying one shiny spot, pressing a tissue piece onto the board, and filling the board with colorful bits.
  1. 01
    Show one turn and say, "Spray here. Press it on."
  2. 02
    Let your child spray one small spot until it looks shiny.
  3. 03
    Have your child press one tissue bit onto the wet spot until it sticks.
  4. 04
    Keep filling open spaces one piece at a time until the board looks colorful or your child is done.

Safety Check

  • Small tissue pieces are a choking hazard. Stay within arm's reach and stop if tissue goes toward the mouth.
  • Spray one small spot at a time. The board should look shiny, not puddled or dripping.
Supporting the play

What to say in the moment

Match what you say to what you see.

Prompt ladder
Level 1 (Start)
Spray one shiny spot.
Level 2 (Keep going)
Press one color onto the wet spot.
Level 3 (Stretch)
Find one empty space and fill it.
Level 4 (Extend)
Keep going until one whole section looks colorful.
If your child seems...
What you'd see
Focused
What to do
Say
"Pick your next color."
Add
Name one color after the piece sticks.
Extend
Let your child choose whether the next piece goes high, low, left, or right.

Make it easier

Younger end
  • -Pre-tear a bigger starter pile so your child can keep pressing without waiting.
  • -Turn the board so the open space stays closest to your child's spraying hand.
  • -Use only two tissue colors for one short round.

Make it harder

Older end
  • +Ask your child to cover empty white spots before layering onto filled ones.
  • +Pause after each piece and let your child choose the next color before spraying.
  • +Invite your child to work across the board from one side to the other.

If it's not working

If you see
If child ignores it
Make one bright piece stick yourself, then hand over one tissue bit and point to the shiny spot.
If you see
If child misuses it
Share one spray, then trade the bottle for one tissue bit to press right away.
If you see
If child gets frustrated
Use a larger tissue piece, press together once, or switch to tapping colors flat for one turn.
Skill spotlight
Placement Control

placing soft tissue bits onto a chosen wet spot with control

This helps a child aim the hand, use light pressure on purpose, and switch between spray and press steps. Those same jobs show up in sticker play, simple art, and other table tasks that need careful placement.

  • Spraying one shiny spot and pressing one piece at a time slows the job into a clear turn a toddler can see and repeat.
  • The tissue either sticks, slides, or bunches right away, so your child gets fast feedback about pressure and placement.
  • The board resets quickly, which makes it easy to do a short art round without a big mess or long cleanup.
Real-world transfer
  • Placing stickers, paper bits, or other light pieces where they belong
  • Using spray bottles, glue, or other small hand tools with more control
  • Staying with a simple art routine from start to finish