Literacy
5+ min2-3 years
The loop

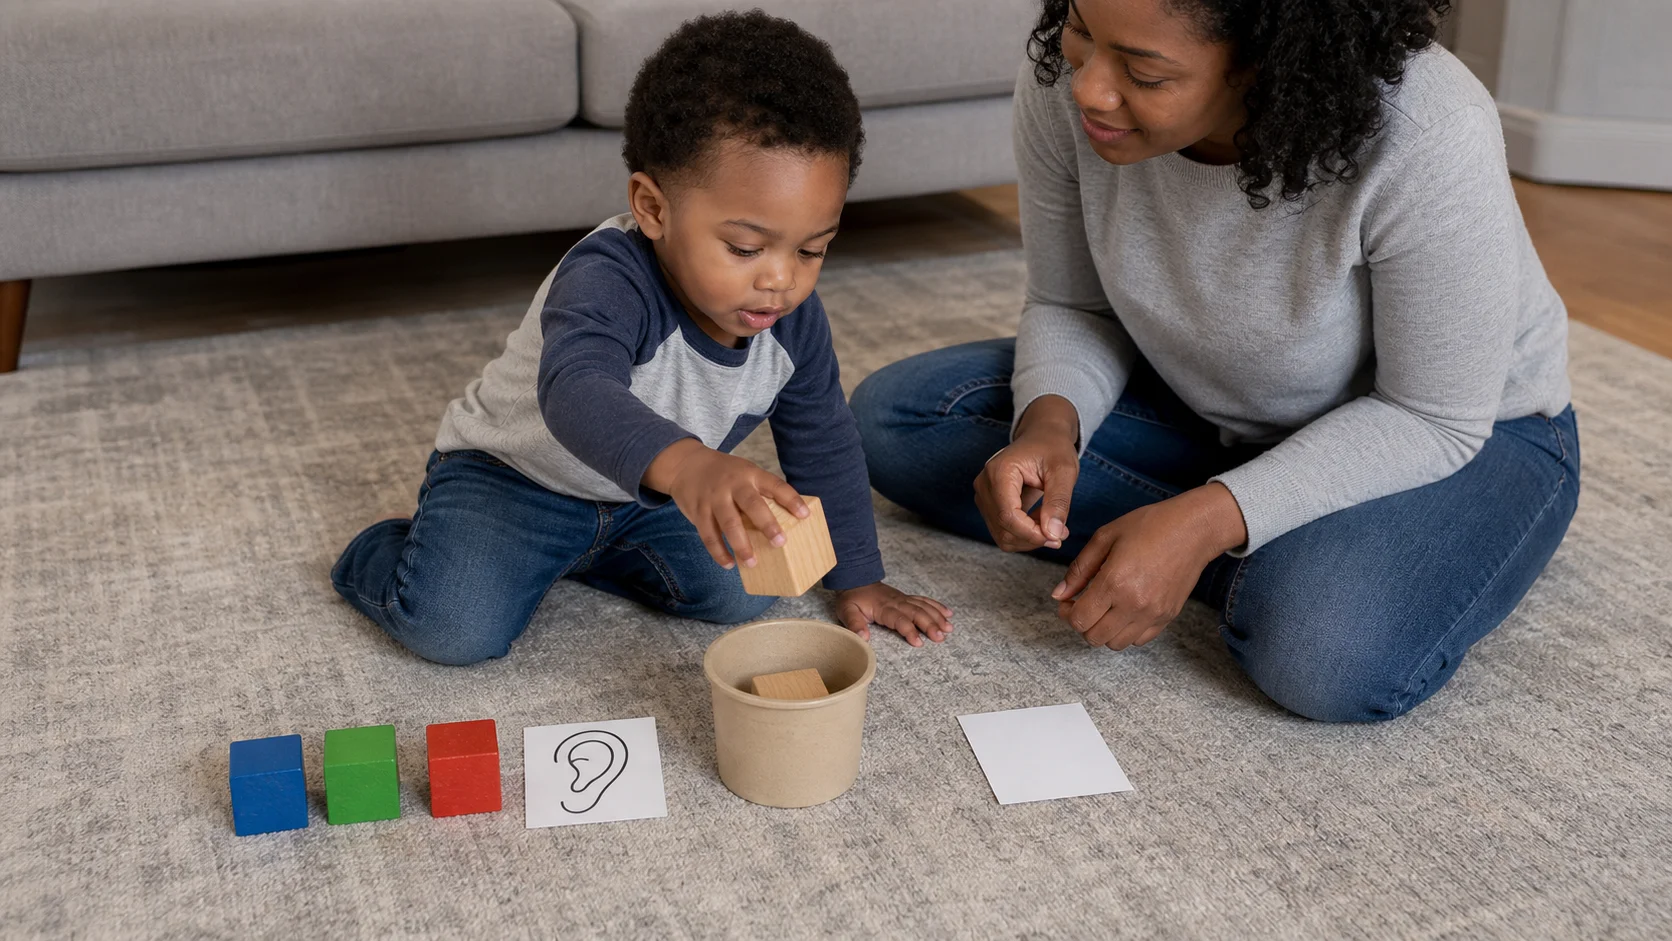
Beep Block Bucket
One beep, one block, and one bucket turn cleanup-style play into a short listening routine.
Low effortLow mess
Indoor
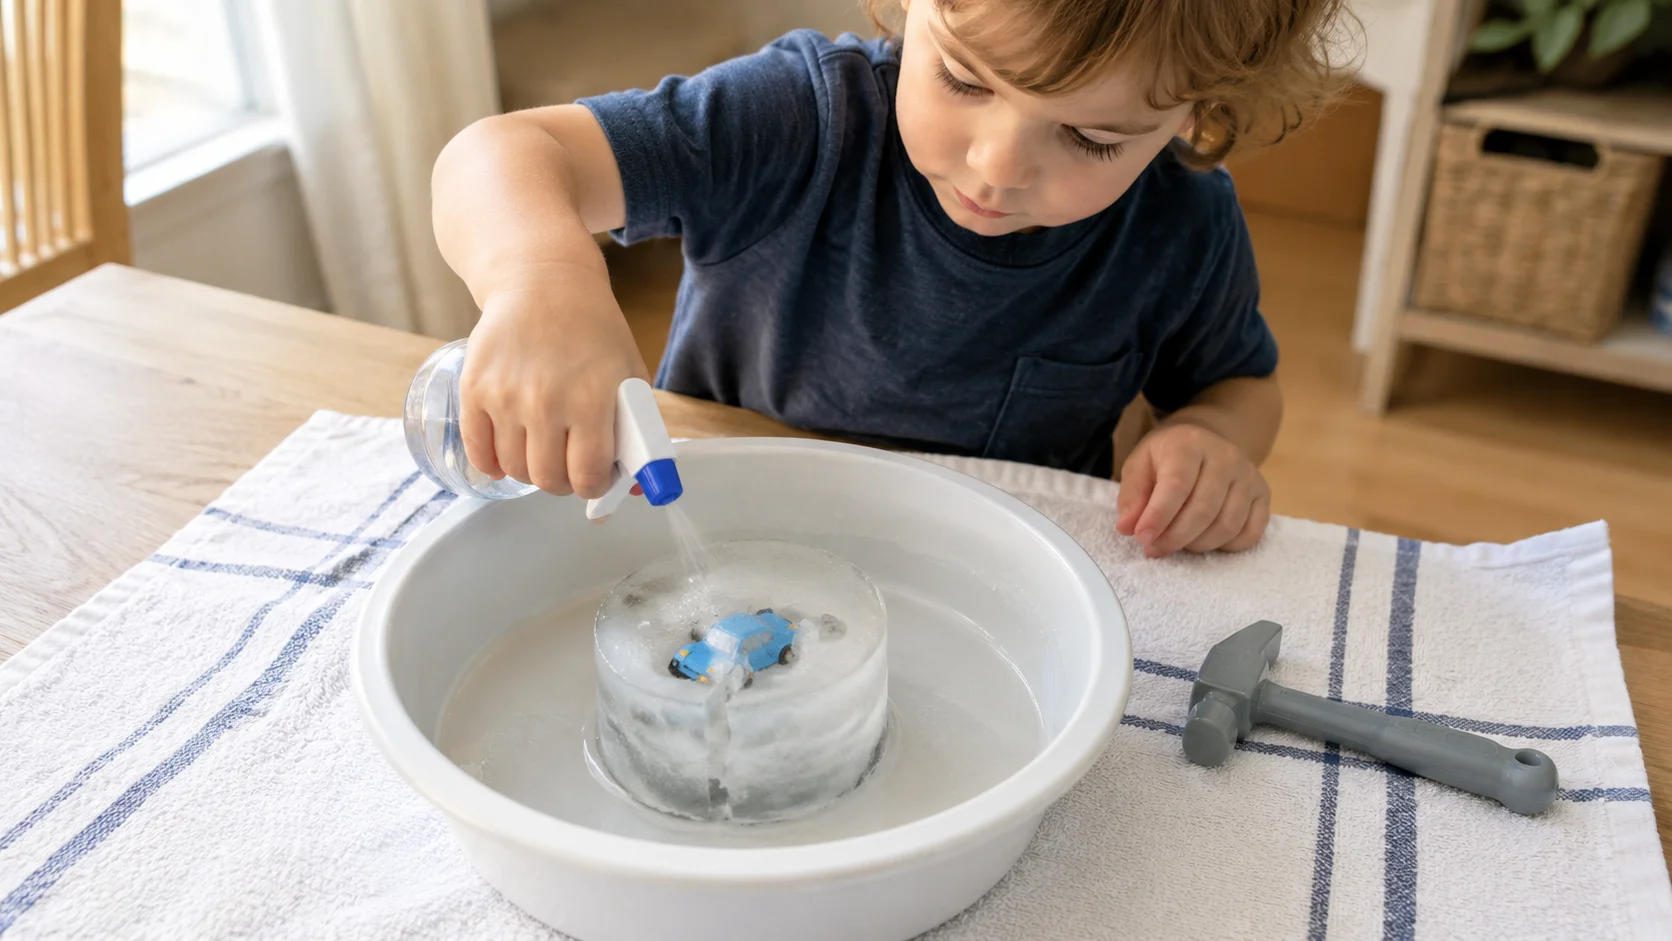
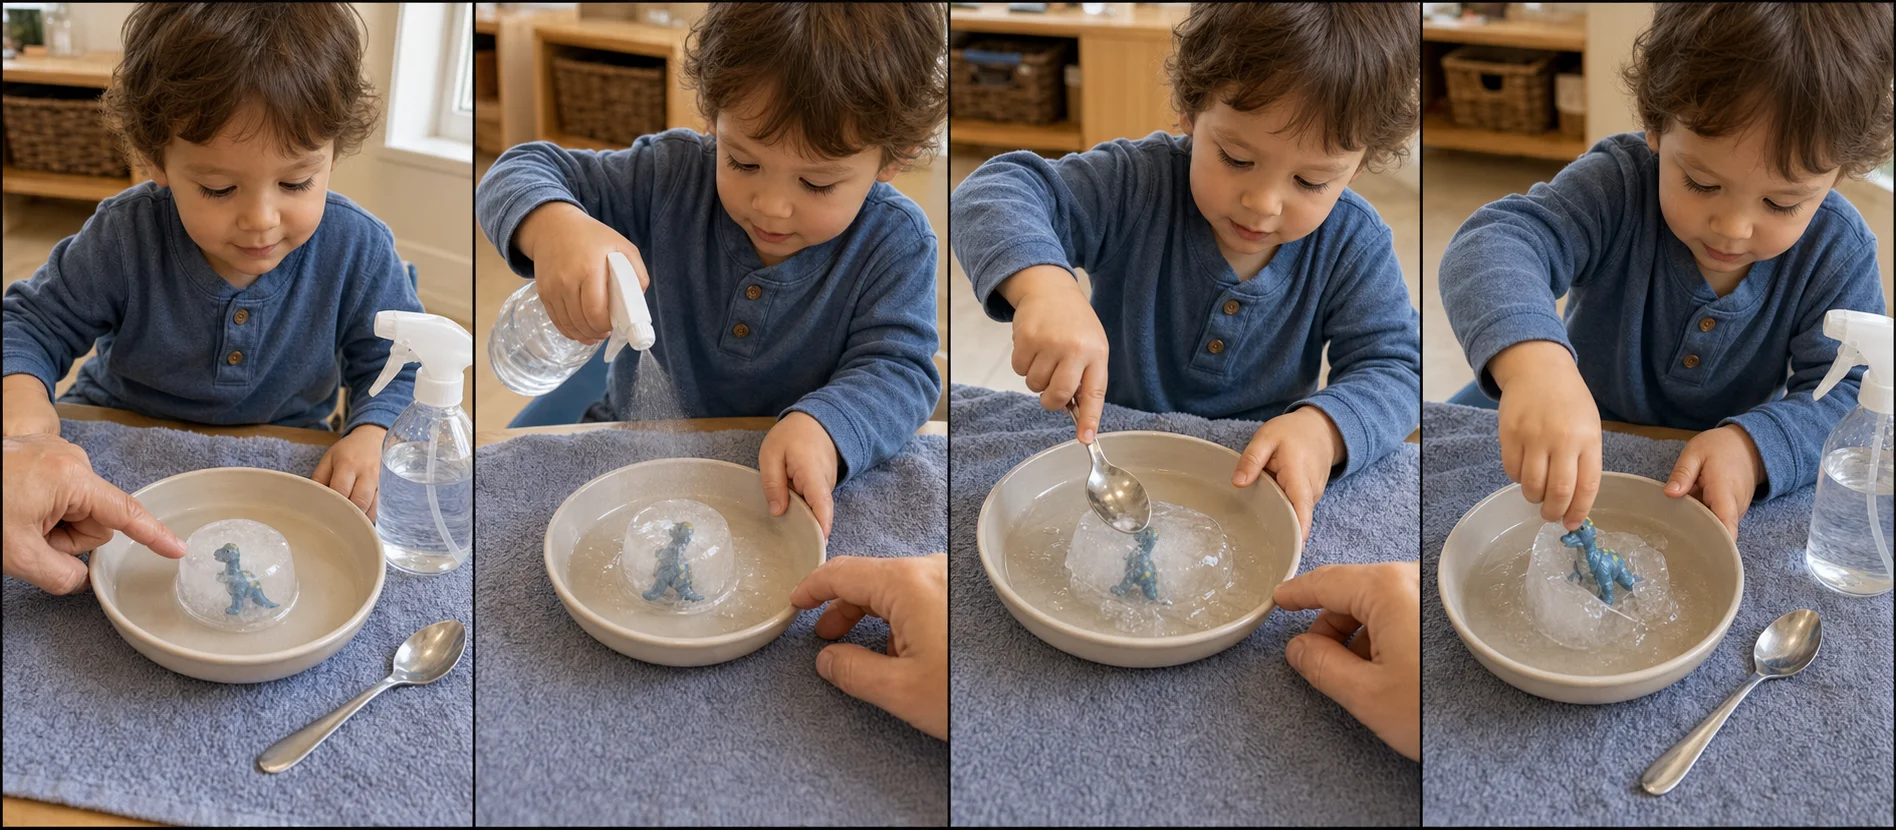
One trapped toy turns ice play into a simple rescue game with visible changes and easy retries.
Match what you say to what you see.
This helps a child notice that different actions create different results and stick with a short retry loop when the first try does not work yet.
One beep, one block, and one bucket turn cleanup-style play into a short listening routine.
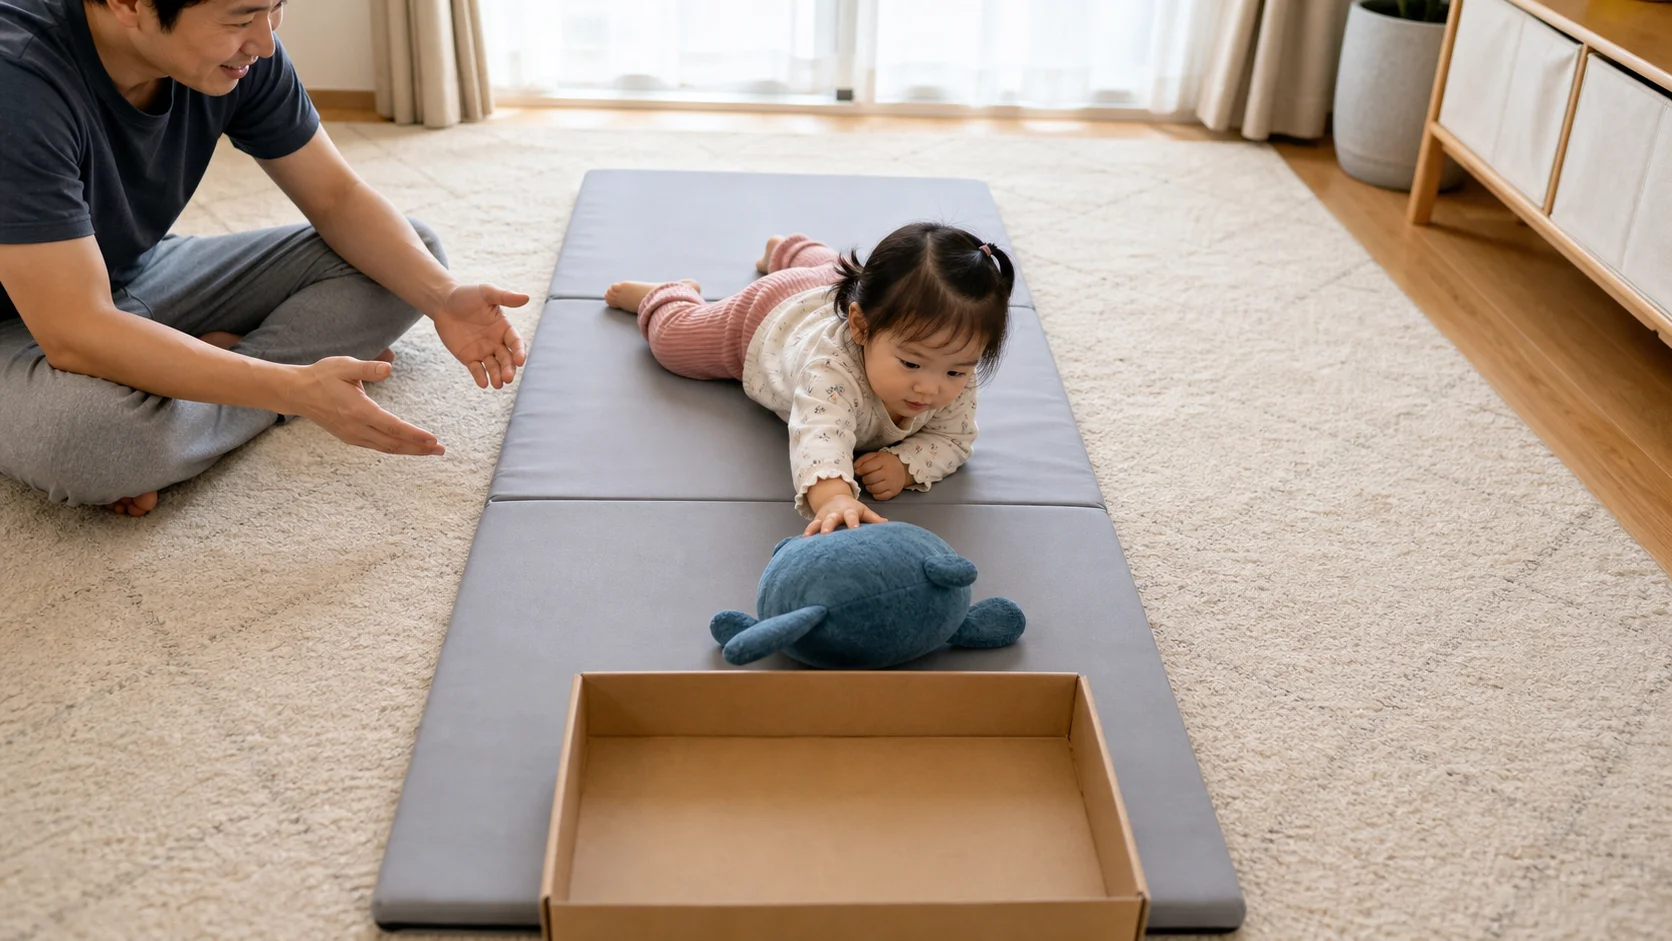
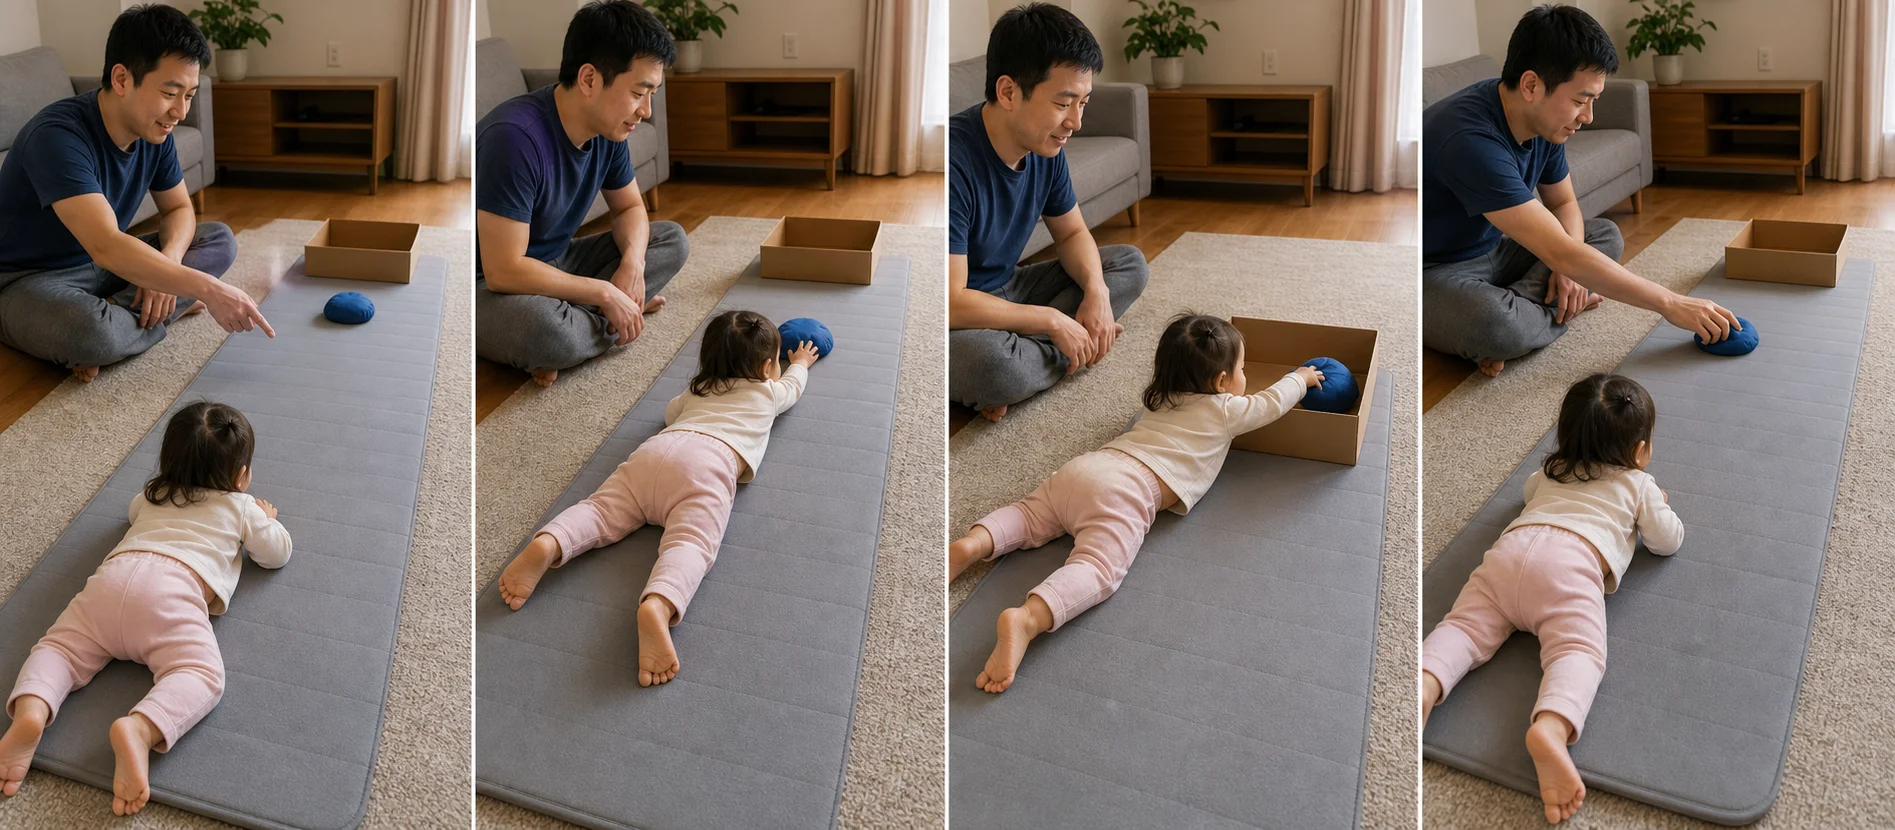
A soft toy, a short lane, and a box turn belly crawling into a repeatable rescue game.
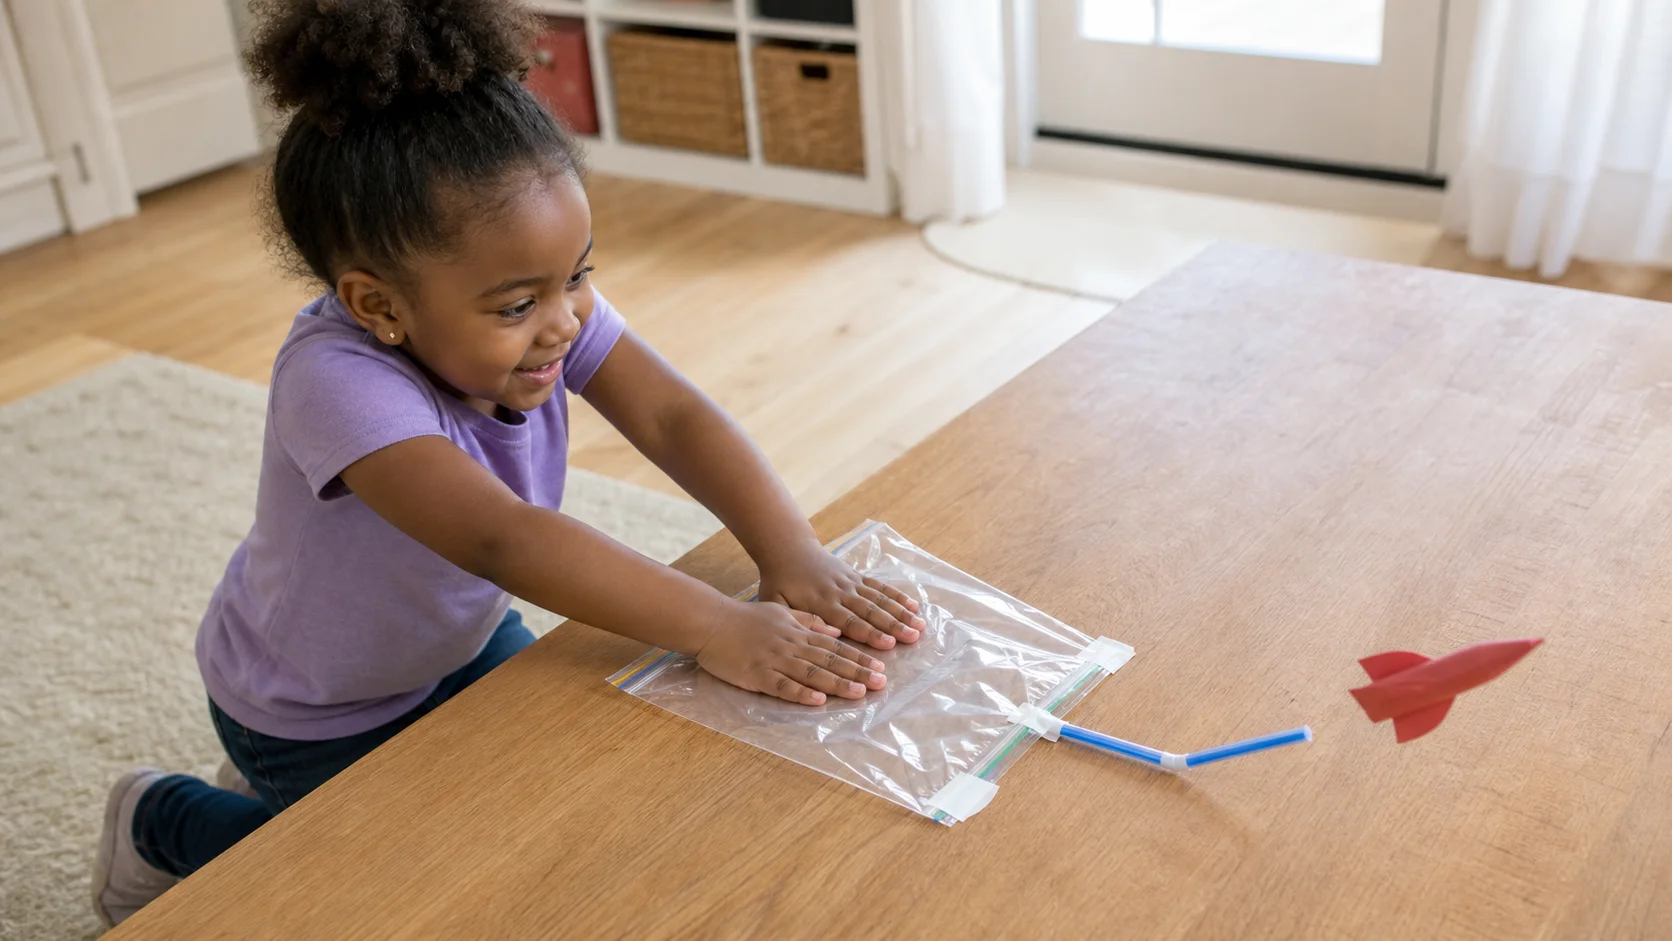
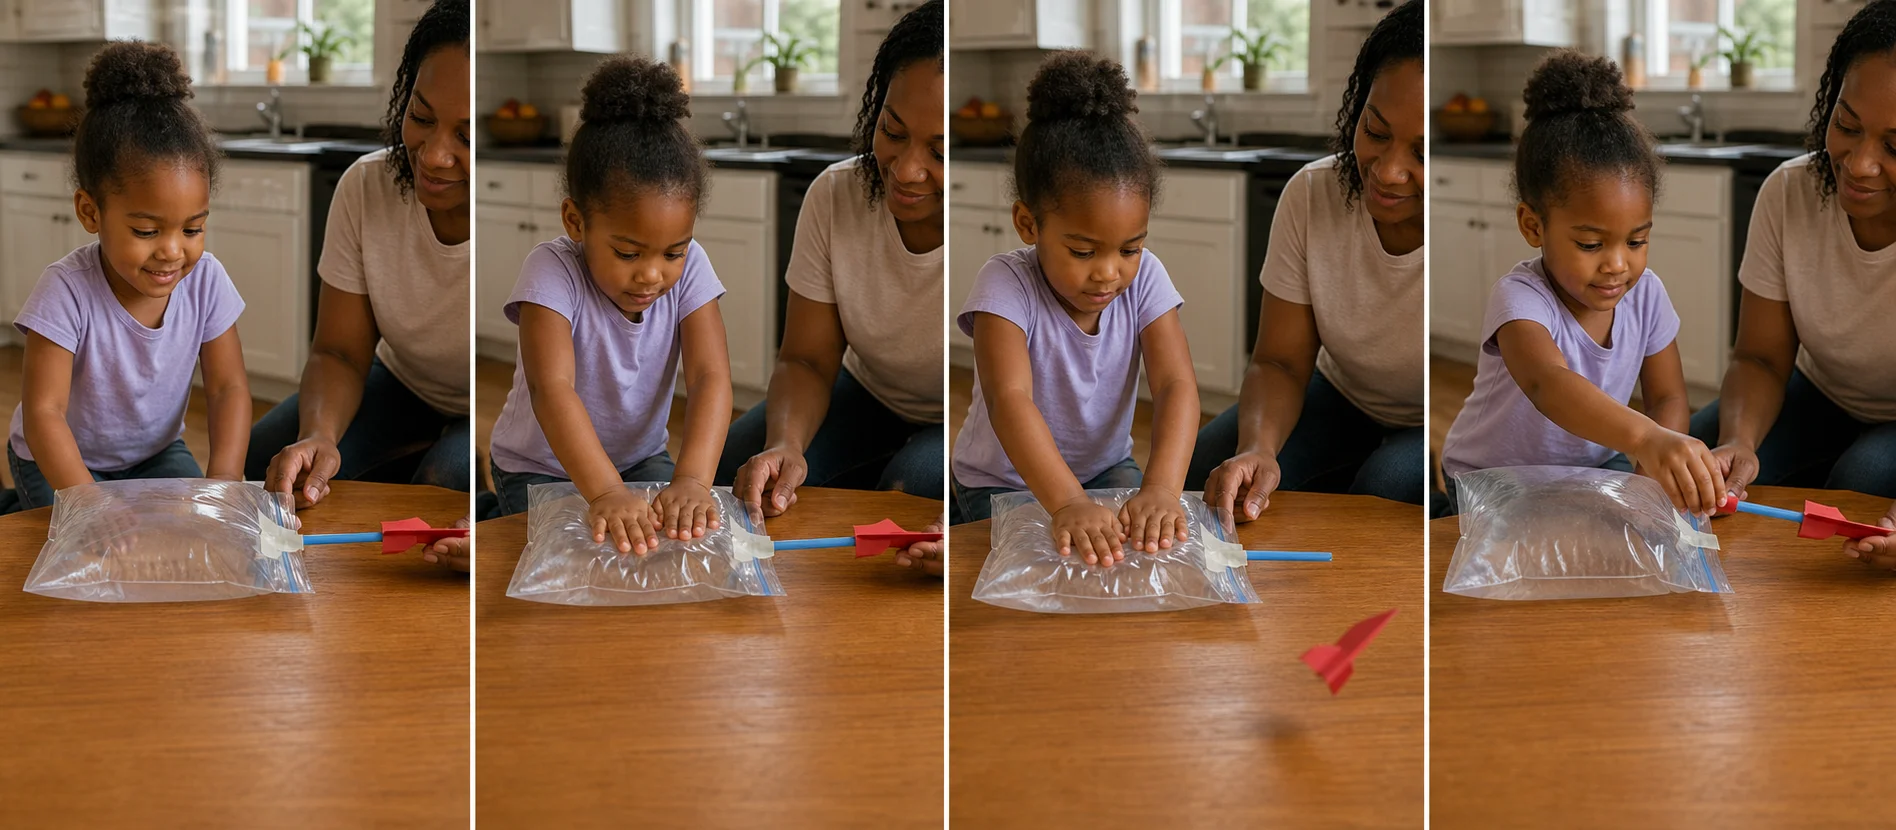
Your child presses a sealed bag to launch a paper rocket, then reloads it for another blast-off.