Thinking
5-10+ min2-5 years
The loop
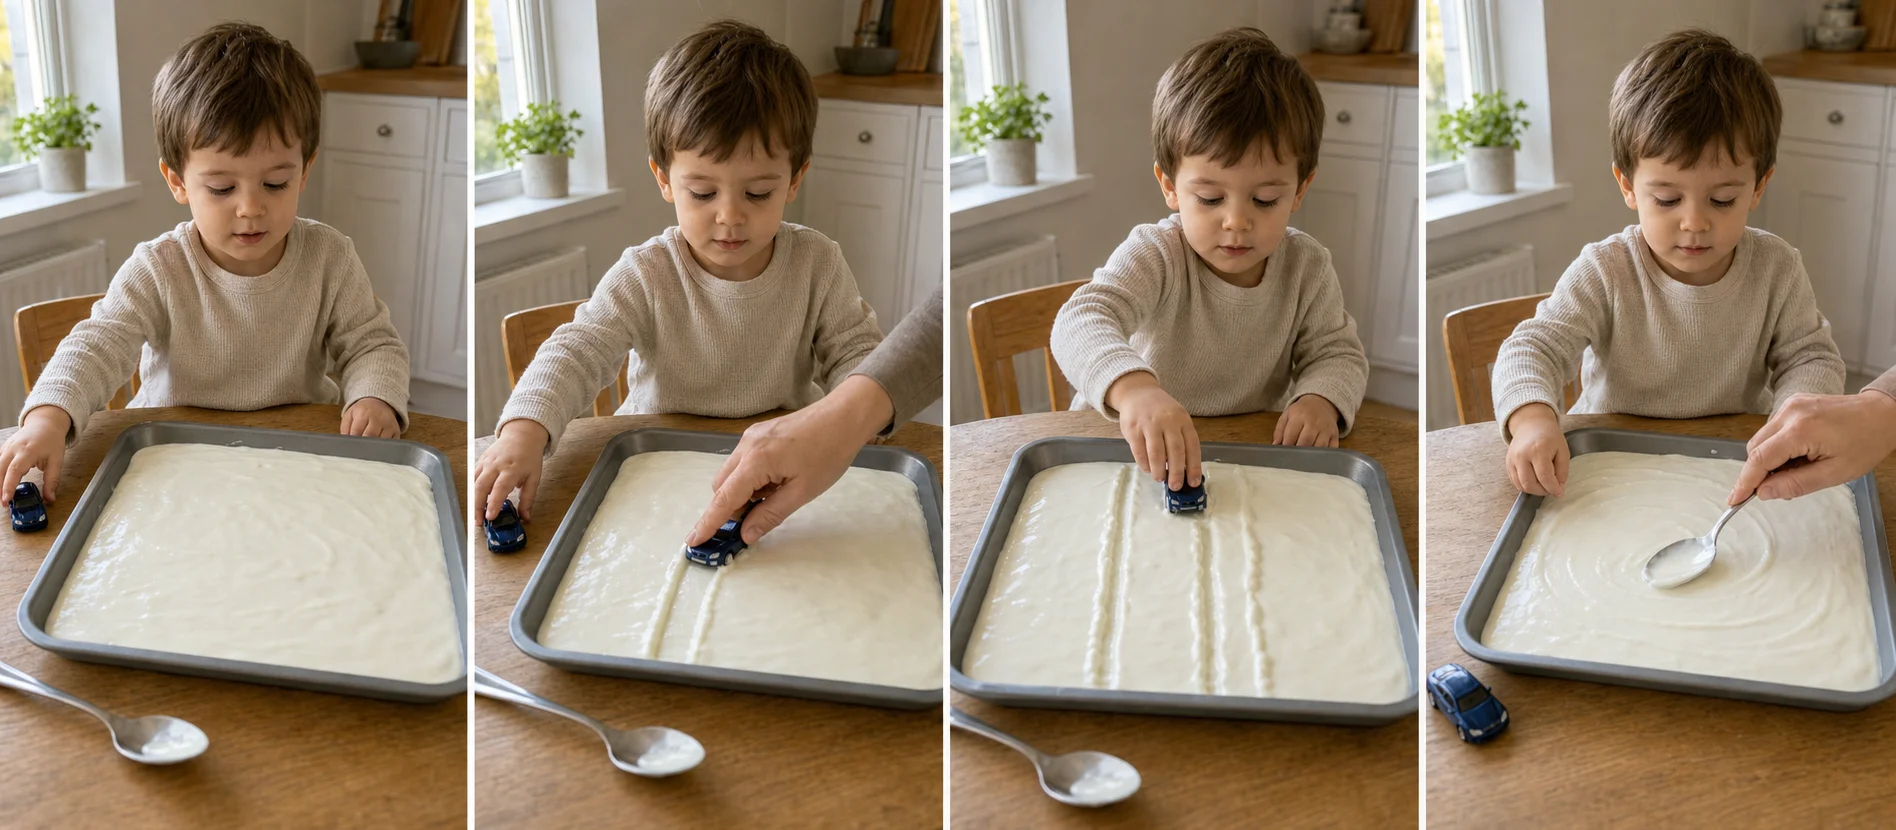
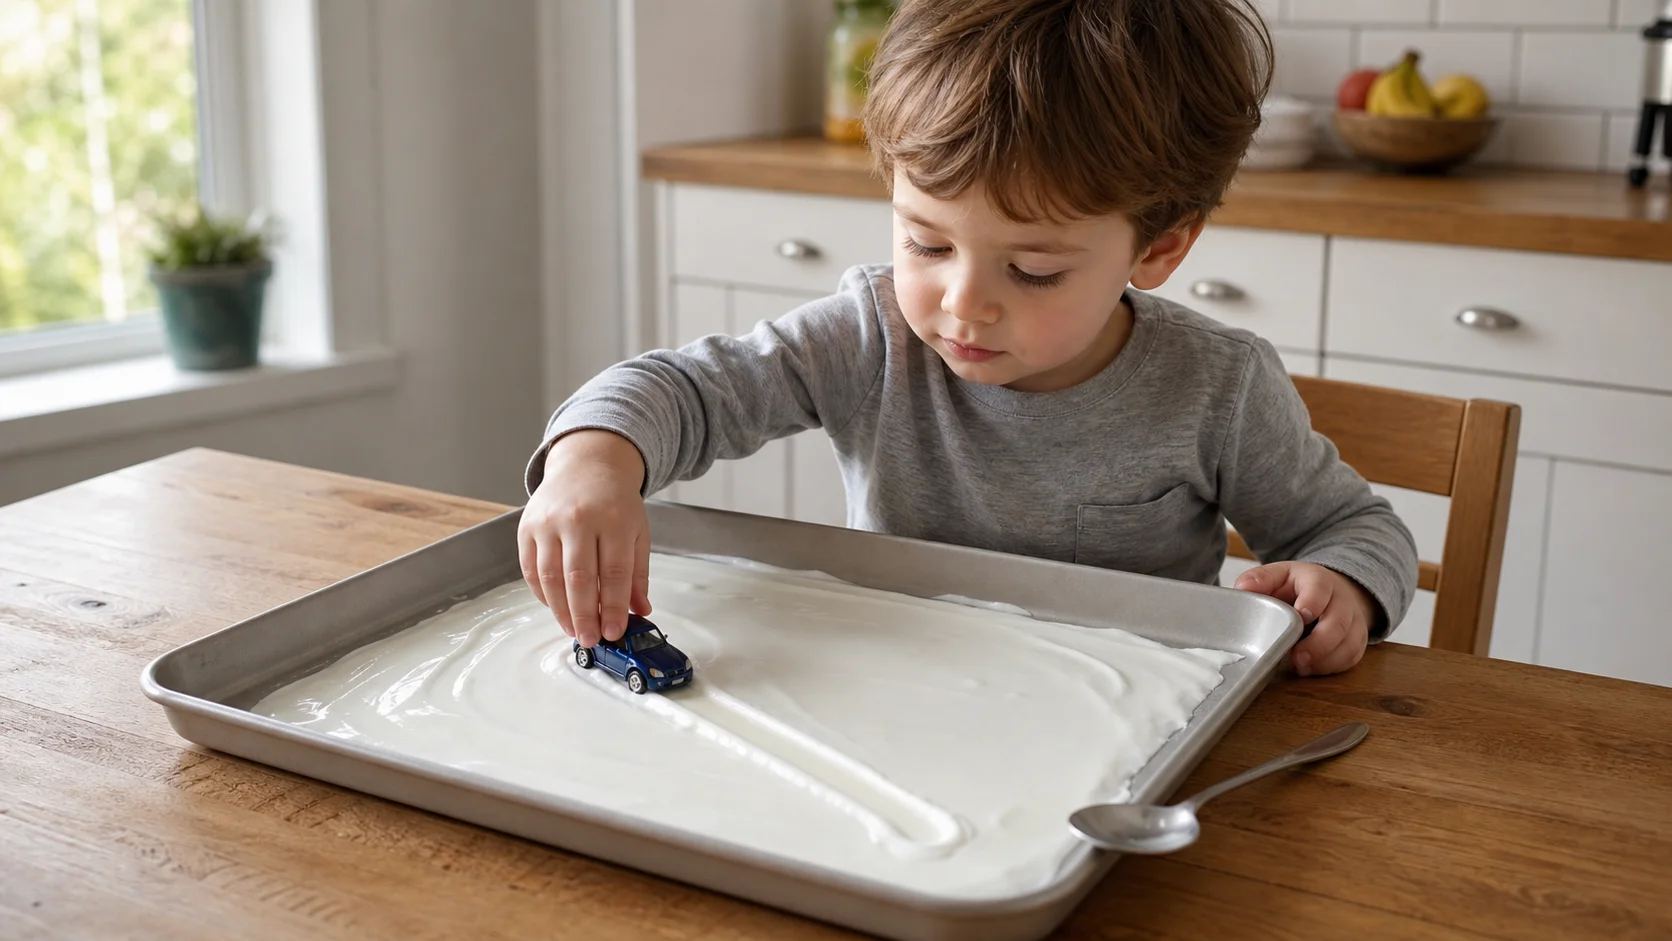
Yogurt Track Lines
Turn a spoonful of yogurt into a track-making game. Your child pushes a toy car or ball through it to make visible lines, exploring a wet texture without having to touch it directly.
Sensory-friendly support
Low effortMedium mess
Indoor